Activity
Sun Prints

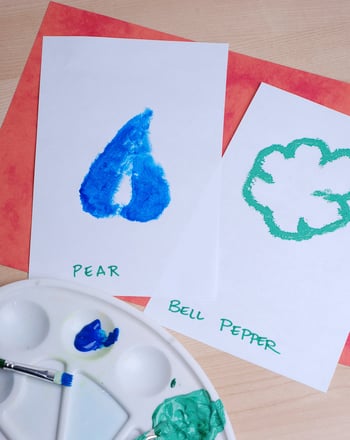
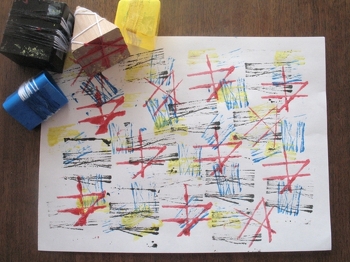
For your next art project, try something a little different with your child. Block printing at home sounds much trickier than it is, and you don't even need a kit to get started. A piece of styrofoam serves as the block for cutting designs, and regular paint can stand in for ink. You can print on paper, but try clear projector sheets for art that wows—sunlight filters through the prints beautifully when hung in a window.
Related learning resources
Sun Prints for Kids
Activity
Sun Prints for Kids
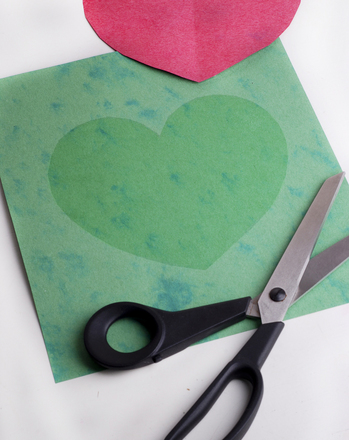
Help your preschooler explore the effects of light and shadow, and make a pretty sun print at the same time!
Preschool
Activity

Flower Prints
Activity
Flower Prints
Take advantage of the spring and summer sun in this arts and crafts activity that has your learner creating pretty flower prints.
Science
Activity
Counting Animal Prints
Interactive Worksheet
Counting Animal Prints
Three different types of animal prints can be found in this worksheet. Students will practice counting by adding up all the prints.
Kindergarten
Math
Interactive Worksheet