Activity
Create a Paper Flower Bouquet

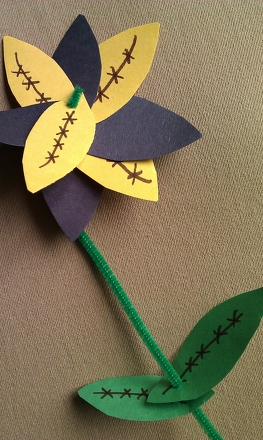
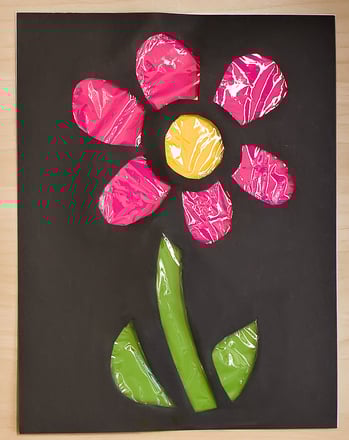
Create a floral paper collage in this 3-D art project! In this craft project, children will use watercolor, torn bits of construction paper, and glue to design and assemble a mixed-media, 3-D portrait of their own hand holding a bouquet of flowers. Display the finished découpage portraits on a gallery wall in the classrom, or hang a single, personalized bouquet in your home. These beautiful, personalized artworks make especially lovely Mother's Day gifts.
Related learning resources
Paper Flower Garland Printable
Worksheet
Paper Flower Garland Printable
Looking to create a paper flower craft? This printable is a great start. It's great as fabric templates too!
3rd Grade
Worksheet
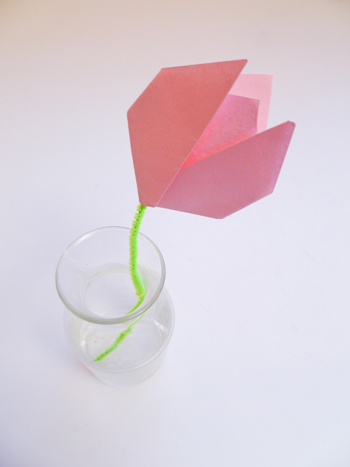
Origami Flower Bouquet
Activity
Origami Flower Bouquet
... With some simple Origami folding techniques, your child can create a vase full of these colorful paper flowers....
3rd Grade
Activity
Mother's Day Bouquet
Worksheet
Mother's Day Bouquet
Here's a Mother's Day craft that will make your mom the happiest parent on the block! Assemble this bouquet of faux flowers by hand and show mom some love.
Worksheet