Activity
Fall Leaf Patterns

Looking for a fun fall craft to do with your child? Make leaf pattern imprints! This art activity will help your child develop an understanding of important math concepts like patterning and spatial awareness. Not to mention, they'll make some beautiful leaf art while learning about the artistic process of imprinting.
Related learning resources
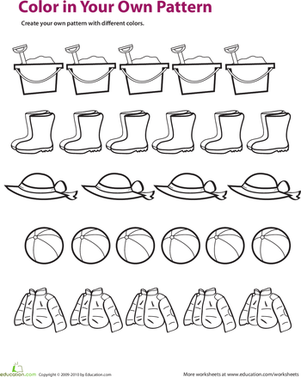
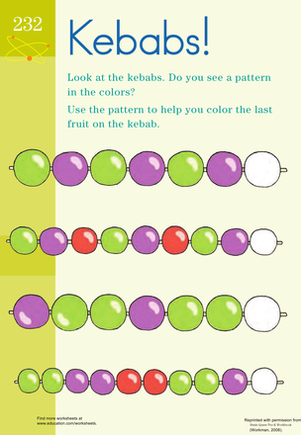
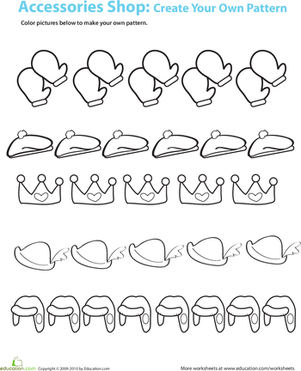
Color Patterns
Worksheet
Color Patterns
Kids create their own patterns by creating color patterns with the pictures in this creative 1st grade math worksheet.
1st Grade
Math
Worksheet
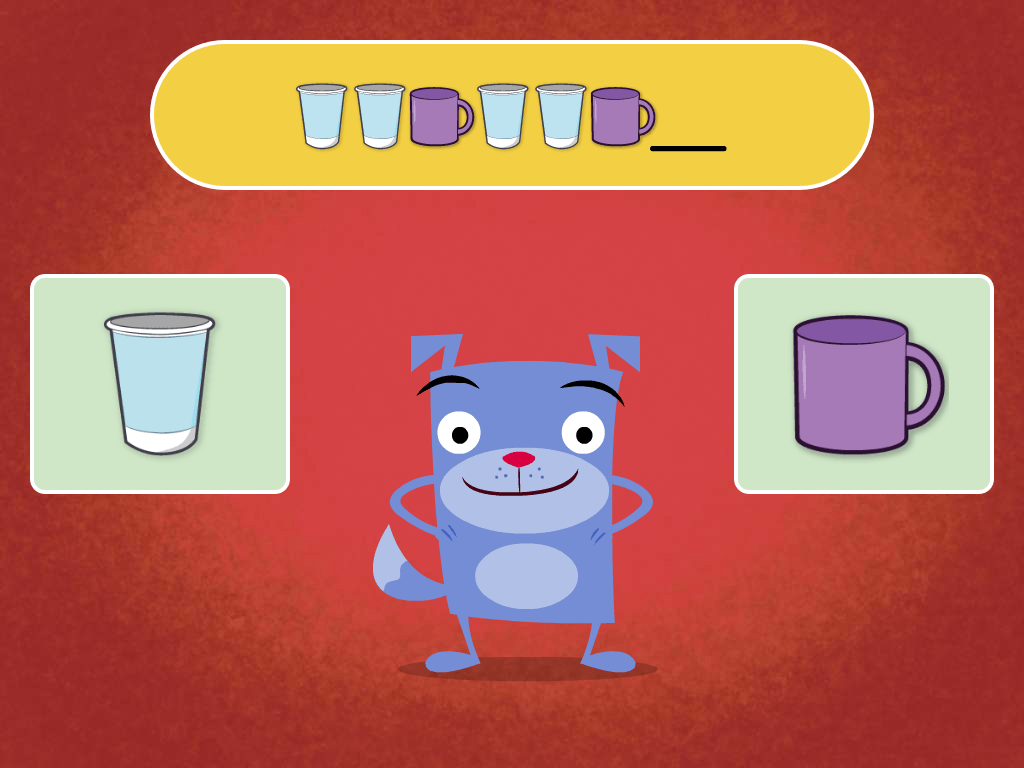
Patterns Quiz
Game
Patterns Quiz
In this short patterns quiz, players pick the picture that completes the pattern.
Preschool
Math
Game
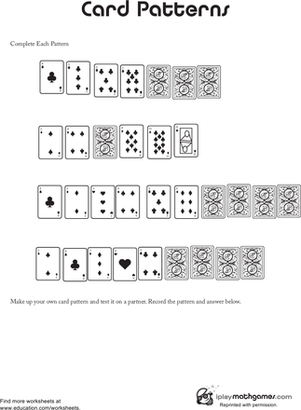
Card Patterns
Worksheet
Card Patterns
Decipher these patterns made from playing cards with your first grader.
1st Grade
Math
Worksheet