Activity
Fox Face Bag
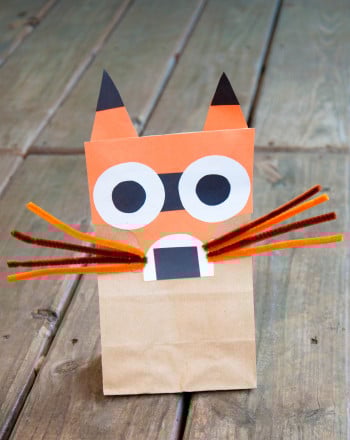
Paper bags can be pretty boring. Why not design the bag with a stylish fox to make it more memorable? Whether it's a bag lunch, goody bag, or used to decorate a table, this cute little fox bag is sure to make your kid smile. This project is also a great way for your kid to practice drawing and cutting basic shapes.
Related learning resources
Santa Face
Activity
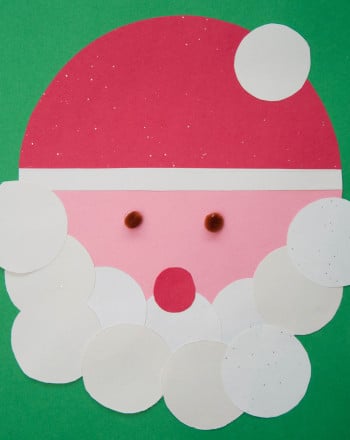
Santa Face
Your little one will have a fantastic time puzzling together Santa's face with this circle-centric activity.
1st Grade
Math
Activity
Hexagon Faces
Worksheet
Hexagon Faces
Hexagons make for funny faces! Help your students develop an understanding of this 2-D shape by differentiating them from other shapes and then turning them into silly hexagonal faces.
1st Grade
Math
Worksheet
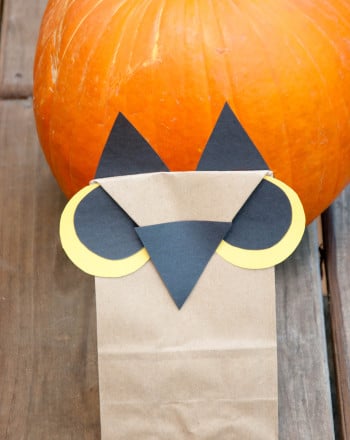
Owl Bags
Activity
Owl Bags
...owl craft, owl bag, bag lunch, diy owl, how to make an owl bag, Halloween, lunch...
1st Grade
Math
Activity