Activity
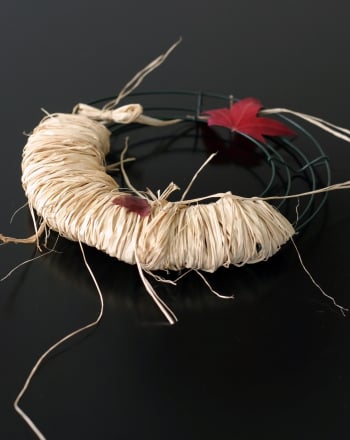
Egg Carton Flower Wreath

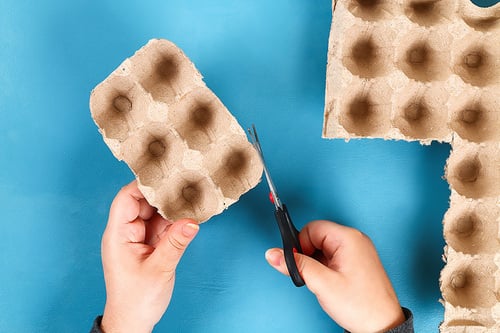
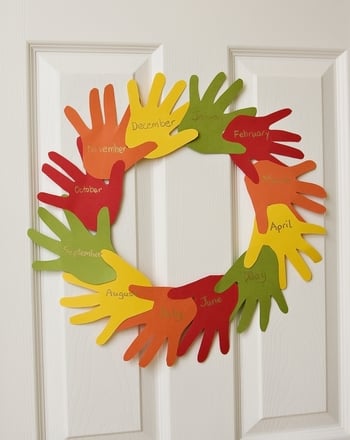
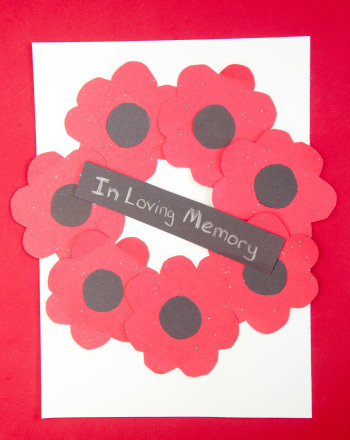
There are a lot of ways to make decorative wreaths. This one uses a flat base and recycles an egg carton to make flowers that pop. What material you use as the base isn't as important for this craft. It's making the flowers that's the fun part!
Related learning resources

Egg Carton Flowers
Activity
Egg Carton Flowers
Use these pretty egg carton flowers to decorate a spring table. They don't require water, they'll never wilt, and they're perfect for Easter.
Activity

Egg Carton Menorah
Activity
Egg Carton Menorah
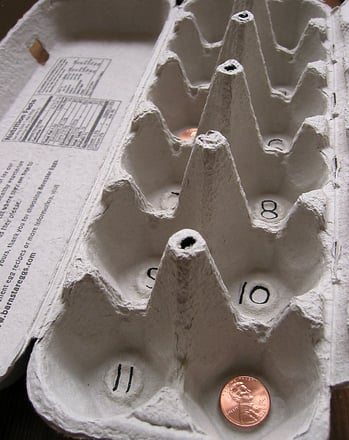
Make a shiny decorative Menorah using an egg carton and light bulbs.
1st Grade
Activity
Egg Carton Garden
Activity
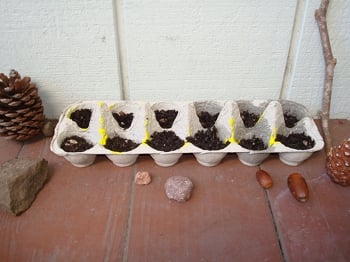
Egg Carton Garden
Here's a simple and fun kindergarten or first grade gardening activity: grow a miniature container garden in a paper egg carton. Great for kinesthetic learners.
1st Grade
Science
Activity