Activity
Coin Clock
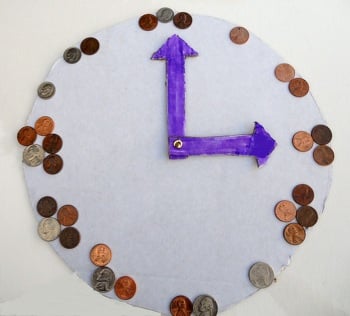
Math isn't just about 1-2-3—it's also about grasping more abstract real-world situations where numbers and counting can come into play, like counting out money and reading a clock. Get a leg up on these concepts with this project where art and math collide: the coin clock!
Related learning resources

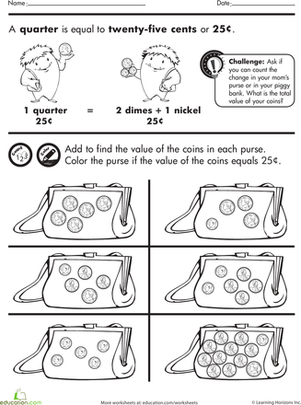
Coin Amounts #9
Worksheet
Coin Amounts #9
Is your child able to identify the amount of a coin at a glance? Test his knowledge with a fun coin activity.
1st Grade
Math
Worksheet
Coin Math
Worksheet
Coin Math
Your beginning coin counter can practice matching groups of coins with equal values!
1st Grade
Math
Worksheet

Counting Coin Practice
Worksheet
Counting Coin Practice
Practice adding up coin values with your youngster.
1st Grade
Math
Worksheet