Activity
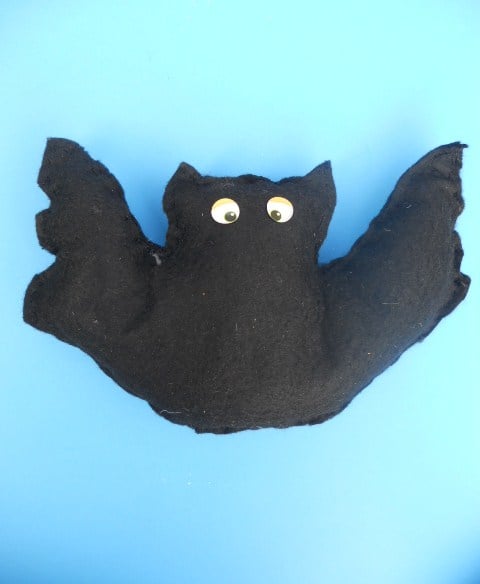
Bat Bags

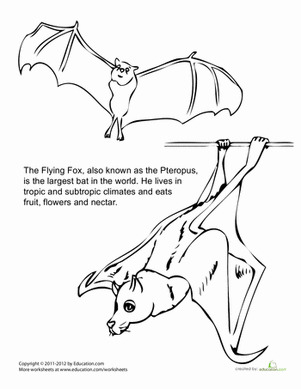
Create some commotion on your treat table this Halloween with some flying bats! Your child will practice creating a pattern out of construction paper to repeat as many times as they like. The bats are then attached at various angles onto treat-filled bags. They'll be cute enough to cause a ruckus among your little party monsters.
Related learning resources
Hanukkah Gift Bags
Activity
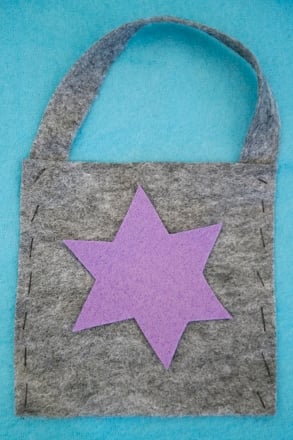
Hanukkah Gift Bags
Make Hanukkah gift bags with your child this holiday season. These Hanukkah gift bags are great for passing out gelt to teachers and friends.
3rd Grade
Activity
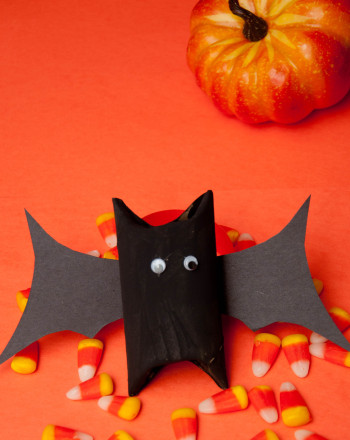
Bat Craft
Activity
Bat Craft
This bat craft is a fun project for crafty witches and warlocks. Make a spooky bat craft to hang around your house on Halloween night.
2nd Grade
Activity

Christmas Goodie Bags
Worksheet
Christmas Goodie Bags
Christmas goody bags are perfect for passing out candy canes, tiny toys, or holiday messages. Make these Christmas goody bags with your kid this holiday season.
2nd Grade
Worksheet