Activity
Make a Self-Portrait from Nature

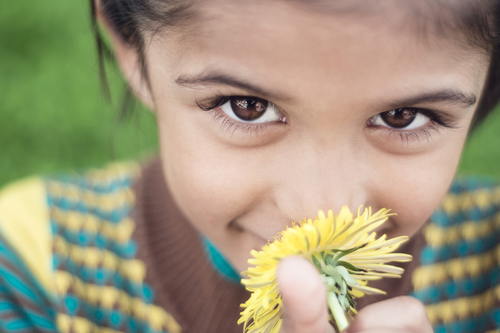
Create a self-portrait from natural materials in this collage craft activity! In this simple, beautiful art project, children will collect found natural materials—like fallen leaves, grasses, small sticks, seeds, and pebbles—to create a unique self-portrait inspired by the natural world. This engaging project is a fun way to encourage self reflection and inspire children to connect more deeply with nature.
Related learning resources
Create a Cubist Self-Portrait
Activity
Create a Cubist Self-Portrait
Help your child make a cubist self-portrait while he boosts his math and spatial skills with this fun lesson in art history!
2nd Grade
Activity

Spooky Self Portrait
Activity
Spooky Self Portrait
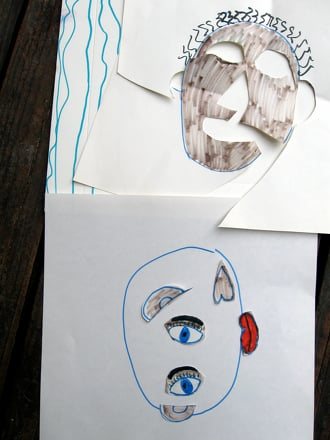
In this activity he will pick out his three favorites and create a trio of silly self-portraits.
2nd Grade
Activity
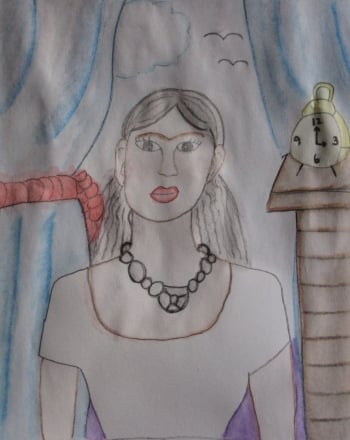
Paint a Frida Kahlo Inspired Self-Portrait
Activity
Paint a Frida Kahlo Inspired Self-Portrait
Frida Kahlo was a famous Mexican painter. In this activity, your child can put pick up a paintbrush and create a self-portrait inspired by this renowned artist.
4th Grade
Activity